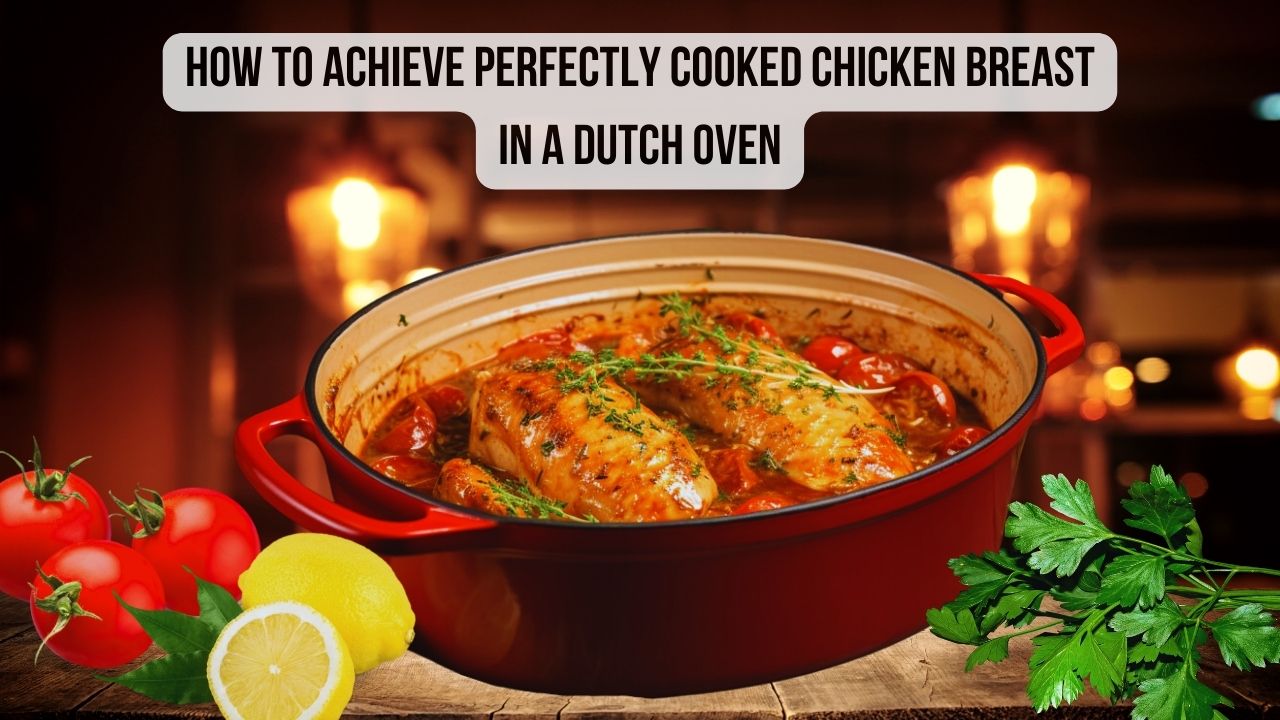

When cooking chicken breast, the goal is to achieve the ideal balance of tenderness and flavor. Since the chicken breast is a lean meat, it demands careful attention to avoid dryness or undercooking. As a chef for ten years, I learned that mastering the cooking time in a Dutch oven can make all the difference.
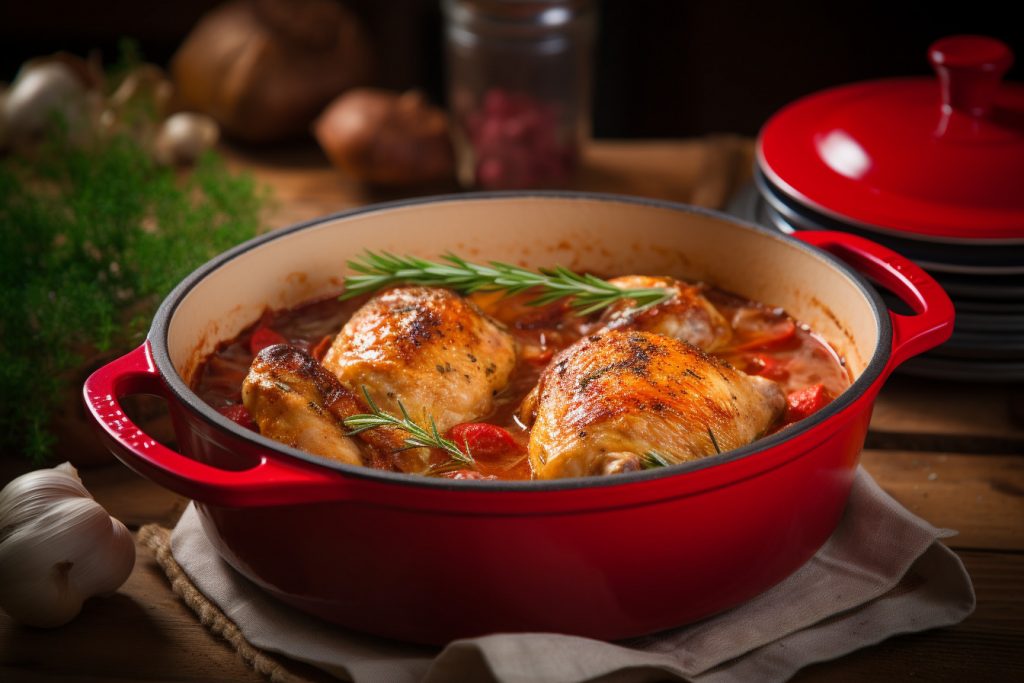
While the Dutch oven is commonly associated with slow-cooking stews and soups, it is also an excellent vessel for cooking chicken breast. Its versatility makes it a go-to choice for those seeking a reliable and flavorful cooking method.
In this post, I will tell you how long to cook the chicken breast in the Dutch oven and guide you in achieving a perfect outcome.
Selecting the Right Chicken Breast
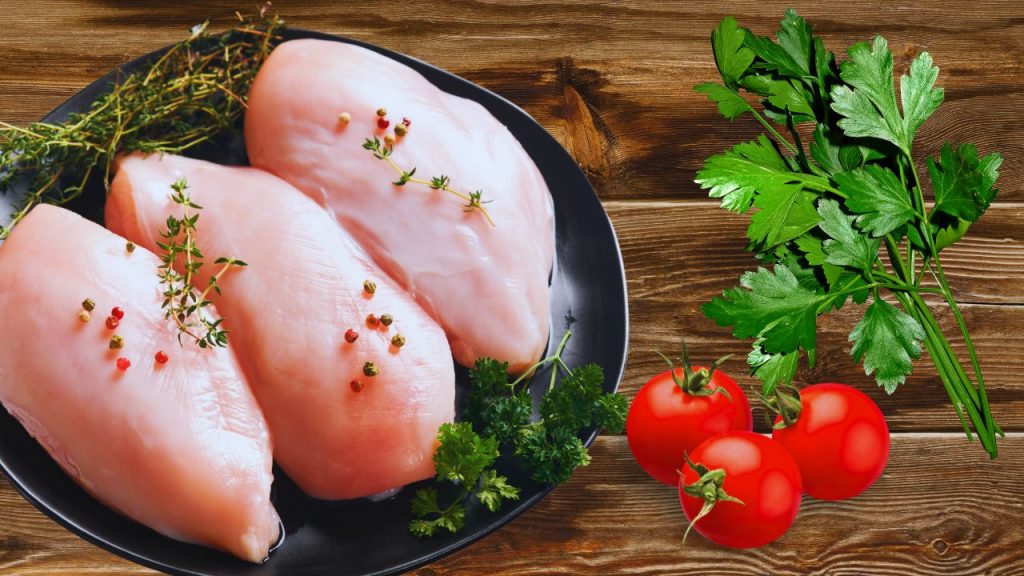
The foundation of a delicious chicken dish lies in the quality of the meat. Always use fresh, high-quality chicken to ensure a tasty and satisfying outcome. Consider sourcing from local farms or trusted suppliers for the best results.
Choosing between bone-in and boneless chicken breasts can affect the cooking process. Bone-in breasts often require a bit more time due to the added mass, while boneless breasts cook relatively faster. Choose which suits your preferences and cooking timeline.
Enhance the natural flavors of chicken by experimenting with various seasonings. You can use the classic salt and pepper blend, savory herb rub, or spicy marinade. Whichever herb and seasoning you use, remember that it adds depth to your chicken breast. The Dutch oven‘s enclosed environment allows for optimal absorption of these flavors.
Preparing the Dutch Oven
Before introducing the chicken, ensure your Dutch oven is properly preheated. This step kickstarts the cooking process and contributes to the development of a delicious crust on the chicken breast.
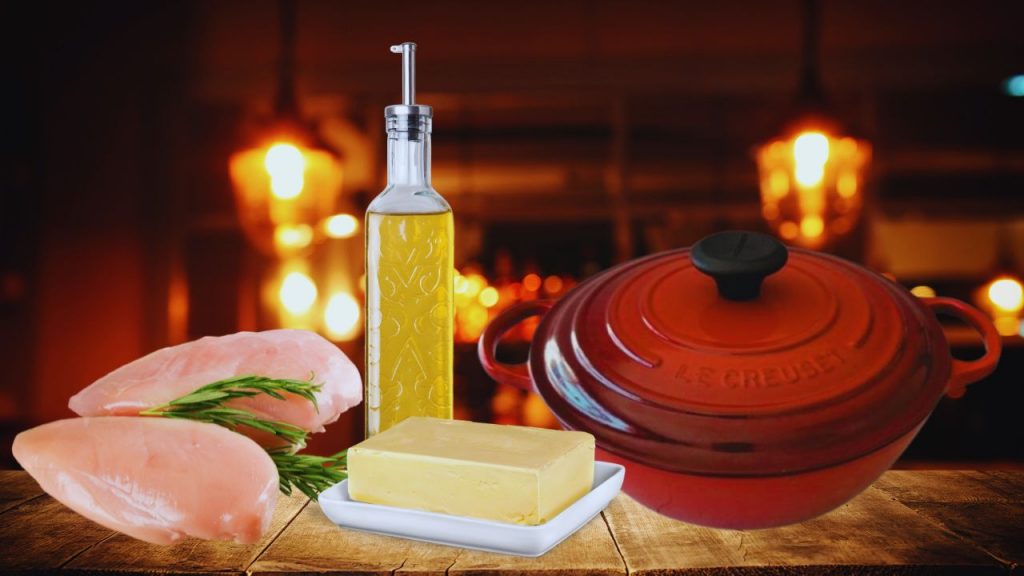
Choosing the right cooking fat or oil is crucial for both flavor and texture. You may opt for olive oil, butter, or even a combination of both, which can contribute to a rich and flavorful outcome. Consider the flavor profile you desire and select accordingly.
Additionally, take advantage of the Dutch oven’s ability to enhance flavors by seasoning it before cooking. A light coating of oil or a quick rub with garlic and herbs can infuse the cooking environment with additional depth.
How Long Should You Cook Chicken Breasts in a Dutch Oven?
When using a Dutch oven, achieving the perfect cooking temperature and mastering the right cooking time are crucial steps in ensuring a succulent and flavorful chicken breast. Here’s a comprehensive guide to help you navigate the process:
Maintain the Ideal Cooking Temperature
Maintaining the correct temperature is a fundamental aspect of achieving a perfectly cooked chicken breast. Set your Dutch oven to moderate heat, approximately 375°F (190°C). This temperature not only ensures even cooking but also helps prevent excessive drying, preserving the chicken’s juiciness.
Determine Cooking Time Based on Size and Thickness
The chicken breasts’ size and thickness are pivotal in determining the cooking time. As a general guideline, bone-in breasts may require a slightly longer cooking duration than their boneless counterparts. To provide a more specific time guide:
For boneless chicken breasts: Cook for approximately 20-25 minutes, turning halfway through.
For bone-in chicken breasts: Allow an extended cooking time of approximately 30-35 minutes, with a mid-cook rotation.
However, these are general estimates, and individual variations may occur. The key is to check for doneness to avoid the pitfalls of overcooking consistently.
Check Meat Doneness with a Meat Thermometer
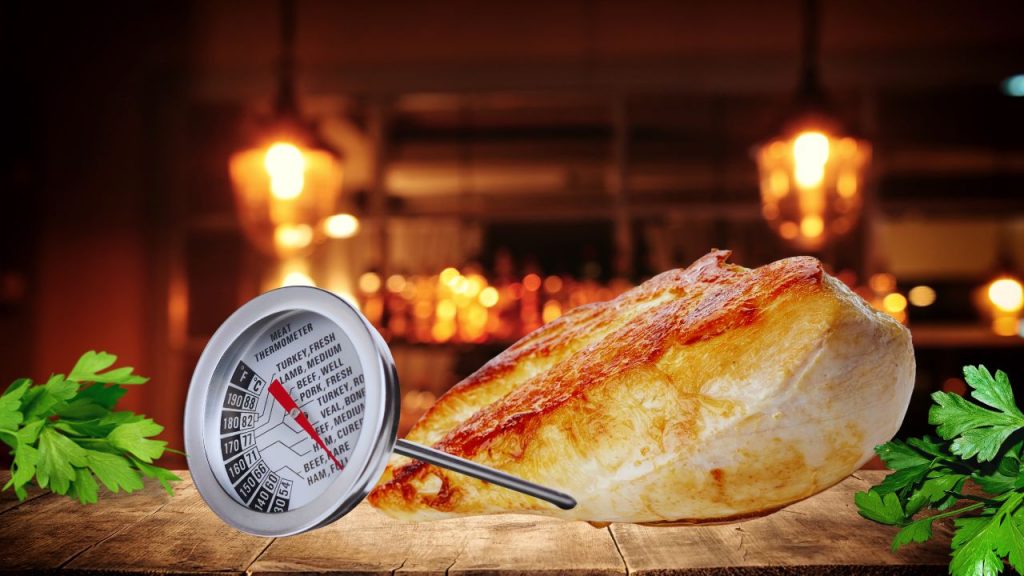
Investing in a reliable meat thermometer is a game-changer for perfectly cooked chicken. Insert the thermometer into the thickest part of the chicken breast, avoiding contact with the bone. The meat’s internal temperature must be around 165°F (74°C) for fully cooked chicken breasts.
Regularly checking the internal temperature with a meat thermometer is a foolproof way to prevent undercooking or overcooking, ensuring that your Dutch oven yields a safe and delicious chicken breast every time.
Flavor Enhancements
Experiment with various herbs and spices to infuse your chicken with robust flavors. Rosemary, thyme, or a hint of paprika can elevate the taste profile and add a gourmet touch to your dish.
You may also introduce liquids such as broth, wine, or citrus juices to the Dutch oven for a moist and flavorful outcome. These liquids contribute to the overall taste and help maintain the chicken’s succulence.
Tips for Achieving a Golden Crust
Here are a few tips to achieve a golden crust when cooking chicken breasts.
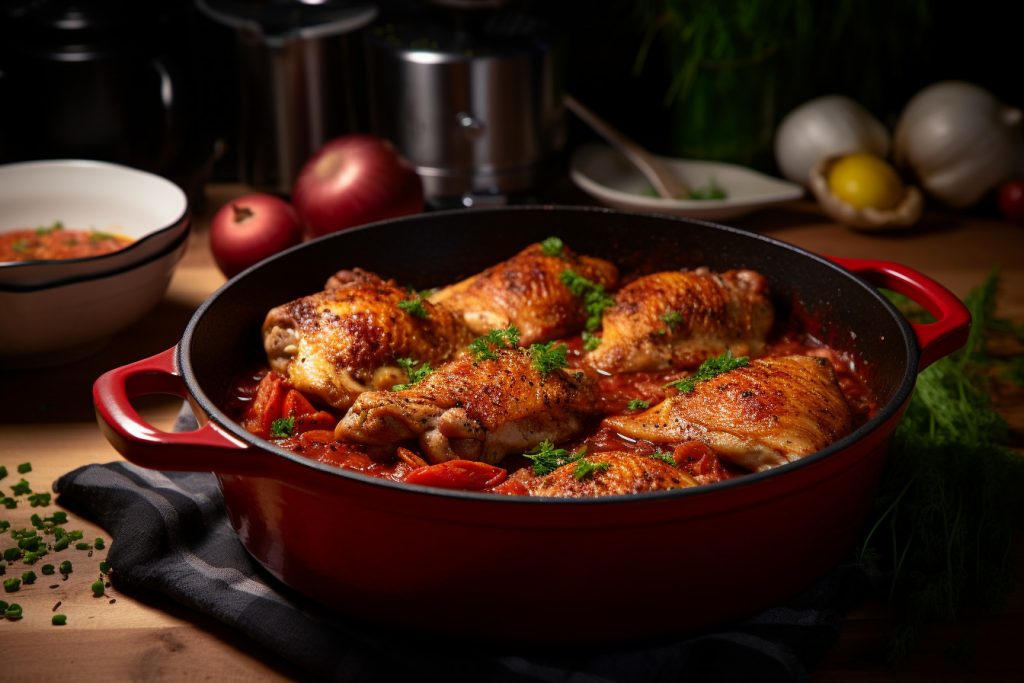
Sear the Chicken Meat for a Crispy Exterior
For those who enjoy a crispy exterior on their chicken, consider searing the breasts before slow-cooking. This technique locks in juices and adds a delightful crunch to the texture.
Basting Helps to Lock in Moisture
Basting involves periodically spooning juices or melted butter over the chicken during the cooking process. This method helps lock in moisture, ensuring a succulent and tender result.
Use the Dutch Oven Lid Strategically for Even Cooking
Strategically using the Dutch oven lid can contribute to even cooking. Cover the Dutch oven during the initial phase to trap moisture, then uncover later for a golden finish.
Common Mistakes When Cooking Chicken Breasts
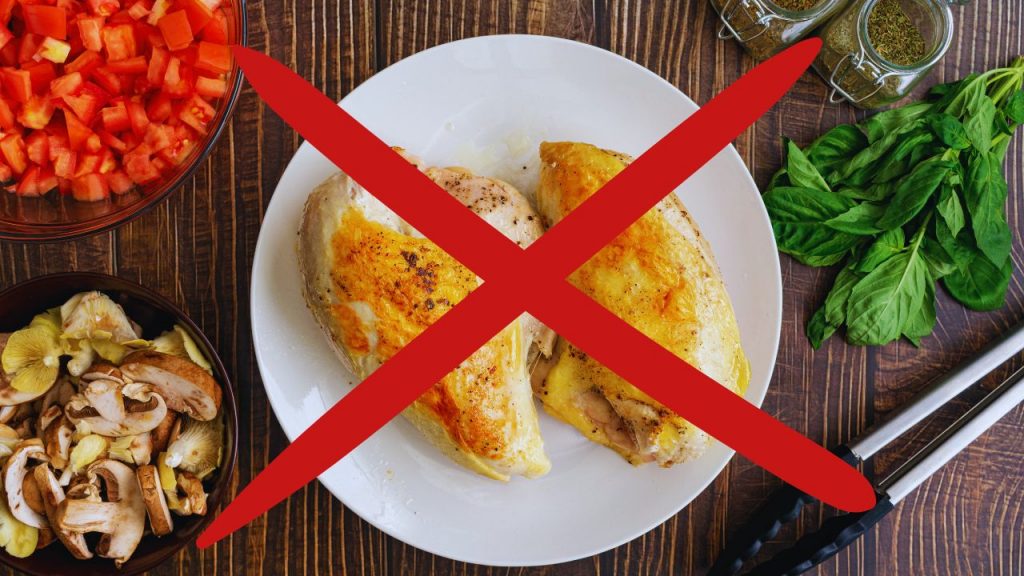
While cooking chicken breasts may sound easy and straightforward, cooks make a few common mistakes. Take note of these things and avoid them.
Overcooking and Drying Out the Chicken
Monitor the cooking time closely to avoid overcooking, which can result in dry chicken. Adjust the heat or cooking time as needed and prioritize regular temperature checks.
Undercooking and Risking Food Safety
Conversely, undercooking poses risks to food safety. Ensure the chicken reaches the recommended internal temperature to eliminate harmful bacteria.
Not Allowing the Chicken to Rest Before Serving
Letting the chicken rest for a few minutes before serving allows the juices to redistribute, ensuring a juicy and flavorful eating experience. Resist the temptation to cut into the chicken immediately.
Chicken Breast Serving Suggestions
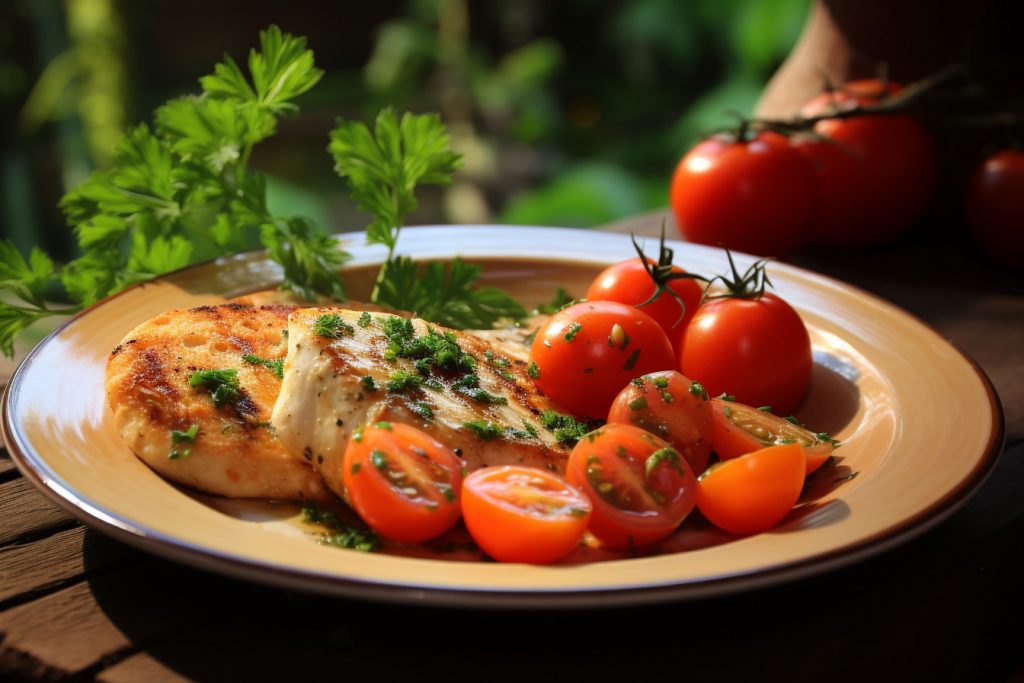
Complement your perfectly cooked chicken breast with a variety of side dishes. Consider the following options:
- Roasted Vegetables
- Grains and Starches
- Fresh Salads
- Herb-infused Rice or Pilaf
- Bread and Rolls
You may also arrange the chicken on a bed of fresh herbs and consider drizzling with a reduction sauce for a touch of elegance.
Conclusion
Achieving the ideal chicken breast in a Dutch oven involves a combination of careful preparation, attention to detail, and a willingness to experiment. Each step mentioned above is crucial in the final result, from selecting quality chicken to mastering cooking times.
The essence of culinary art is found in the capacity to customize recipes according to your individual preferences, allowing you to craft a dish that perfectly aligns with your distinctive taste.
With the right approach, your Dutch oven can become a reliable tool for consistently achieving perfectly cooked chicken breasts.
Make sure to explore the list of top-rated Dutch ovens.