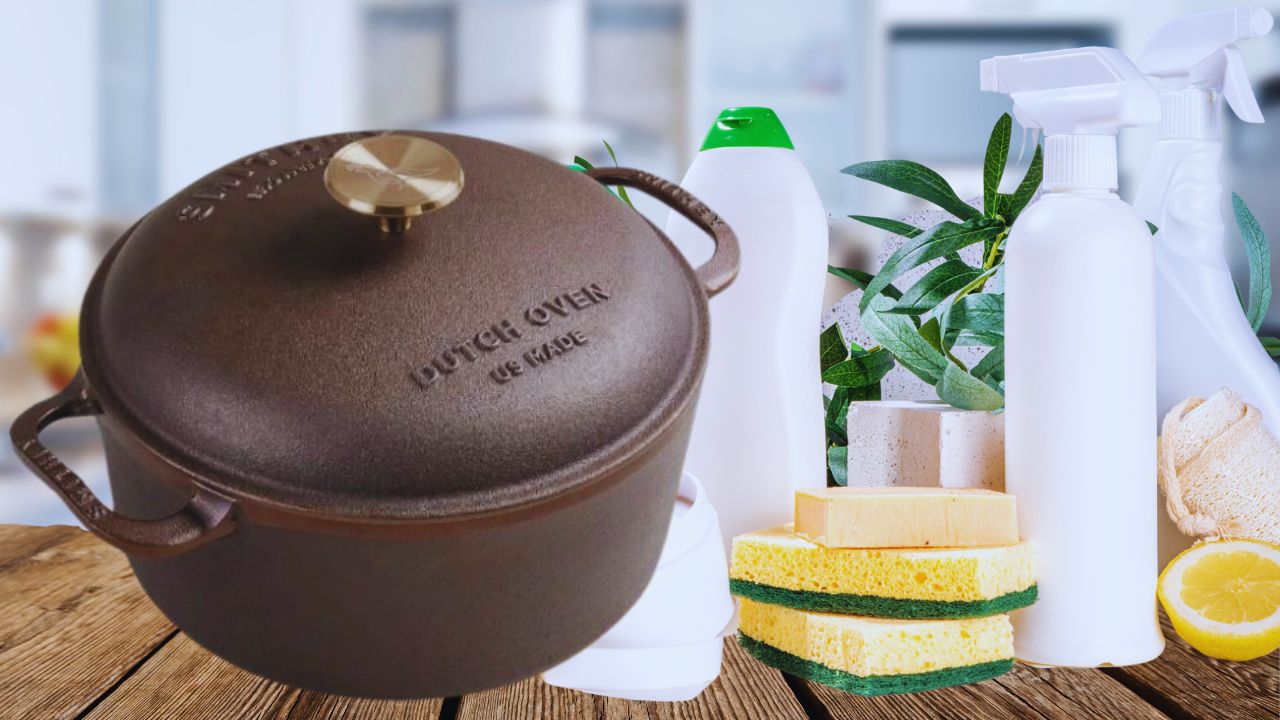

As a seasoned restaurant chef with a decade of experience, I understand the importance of maintaining kitchen tools, including the cast iron Dutch oven. This versatile cookware requires a little TLC to keep performing at its best.
Tips on Cleaning Your Cast Iron Dutch Oven
Some people may find maintaining a Dutch oven complicated. However, the cleaning process remains consistent, whether you are cleaning an enameled Dutch oven or one crafted from raw cast iron.
Here are a few key considerations that can streamline the cleaning process:
Immediate Post-Cooking Care
After using your Dutch oven, cleaning it promptly while it’s still warm is crucial. This makes removing food residue easier and prevents the formation of stubborn, baked-on grime.
Avoid Harsh Chemicals
One of the beauties of cast iron is its simplicity. Avoid using harsh chemicals or abrasive scouring pads, as they can strip away the seasoned layer and damage the surface. Instead, opt for a soft sponge or a nylon brush.
Gentle Scrubbing
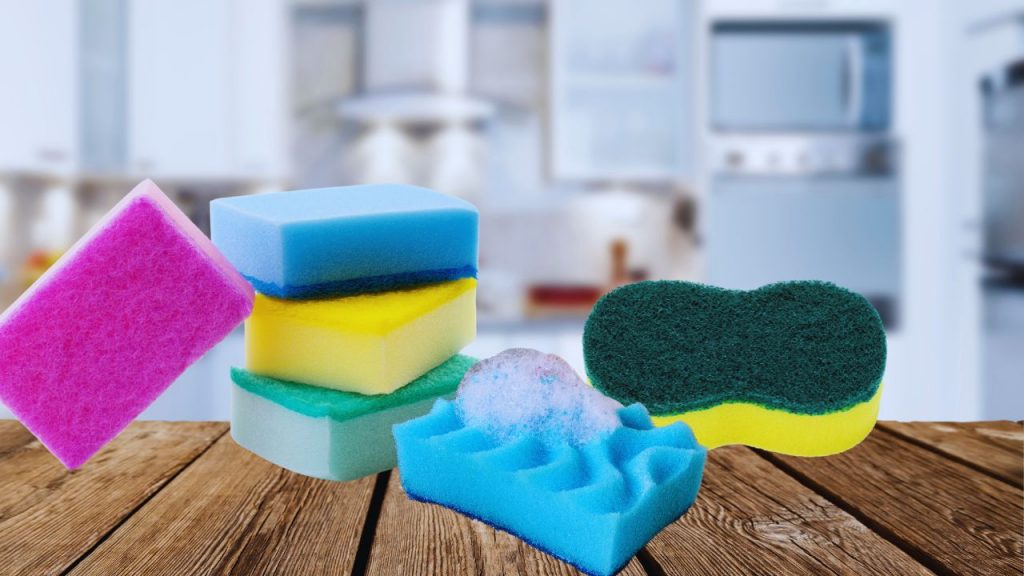
If there are stubborn bits of food clinging to the surface, use a mixture of warm water and mild dish soap. Gently scrub the Dutch oven with a soft sponge or brush, making sure not to be too aggressive to preserve the seasoning.
Say No to Soaking
Unlike other types of cookware, raw cast iron should never be soaked in water. Rusting can occur after prolonged exposure to water. If there are stubborn food remnants, apply a coarse salt and water mixture as a soft abrasive.
Drying
Thoroughly dry the Dutch oven with a clean towel or paper towel immediately after washing. Ensure that no moisture is left on the surface to prevent rust formation.
Seasoning Your Cast Iron Dutch Oven
Seasoning imparts resilience and non-stick prowess to your Dutch oven. Below, I’ll delve into the steps and techniques to season your cast iron Dutch oven.
Coating with Oil
Seasoning is a vital step in cast iron maintenance. Apply a thin layer of cooking oil (vegetable oil, canola oil, or flaxseed oil, which works well) to the entire surface of the Dutch oven, including the exterior and handles.
Wiping Excess Oil
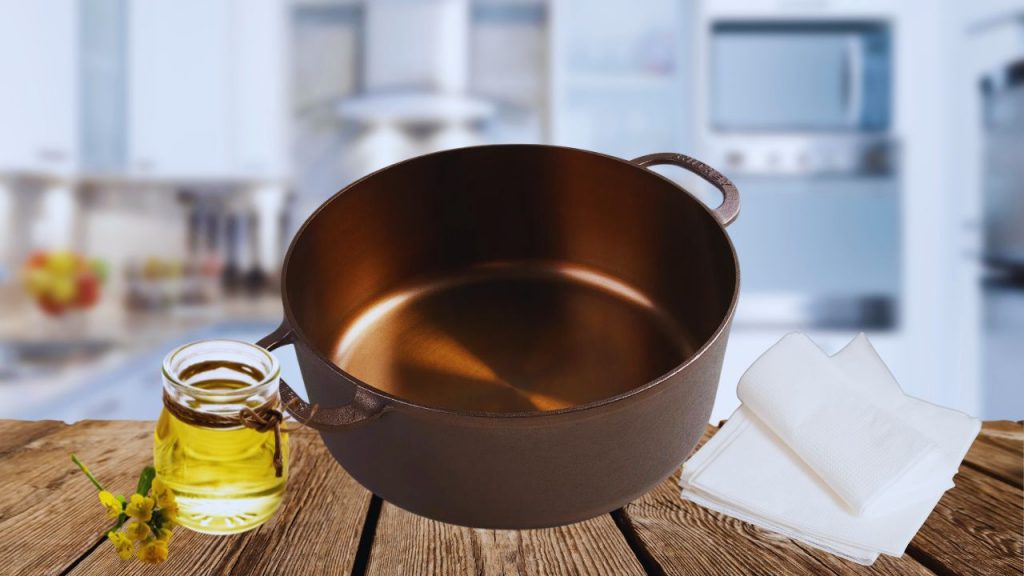
You may use a paper towel to wipe away any excess oil. The goal is to create a thin and even layer. It is crucial to remember that too much oil can result in a sticky residue.
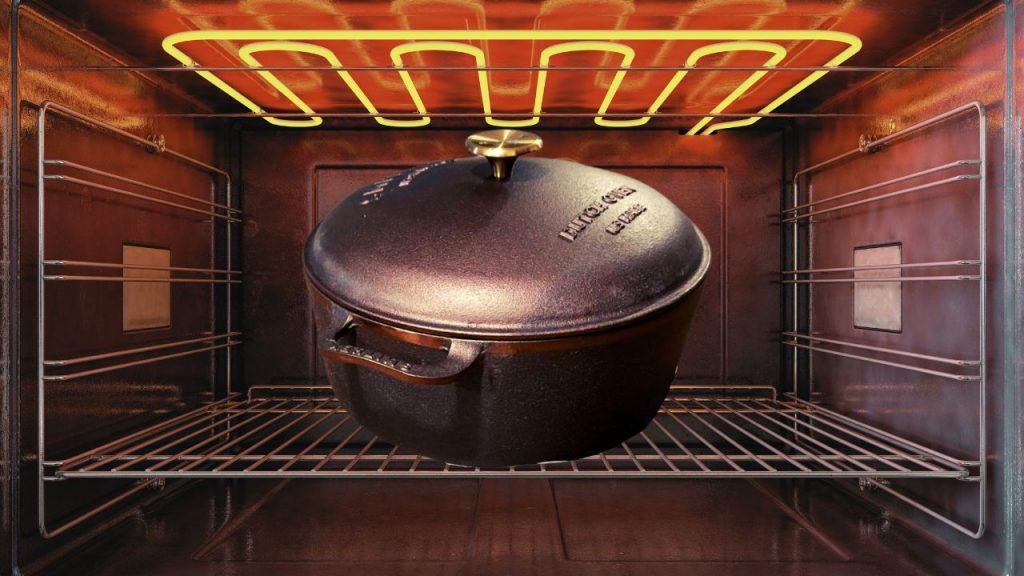
Upside-Down Baking
Preheat the oven around 375 degrees Fahrenheit (190 degrees Celsius) and place the Dutch oven upside down. Place a foil-lined baking sheet under to catch any drips. Bake for about one hour to allow the oil to polymerize, creating a durable, non-stick surface.
Cooling and Repeating
Let the Dutch oven cool completely before using it. If your Dutch oven needs more seasoning, repeat the process until the desired non-stick surface is achieved.
Choosing the Right Oil for Cast Iron Seasoning
Understanding the chemical properties of oils provides valuable insights into their reactivity and effectiveness in polymerizing to the metal surface.
Unsaturated Oils
Opting for unsaturated oils is a key principle in successful seasoning. Their molecular structure is more reactive than saturated oils, making them better suited for polymerization. In the past, saturated oils like bacon grease and lard were commonly used due to their affordability and availability. However, from a molecular perspective, they fall short of the ideal.
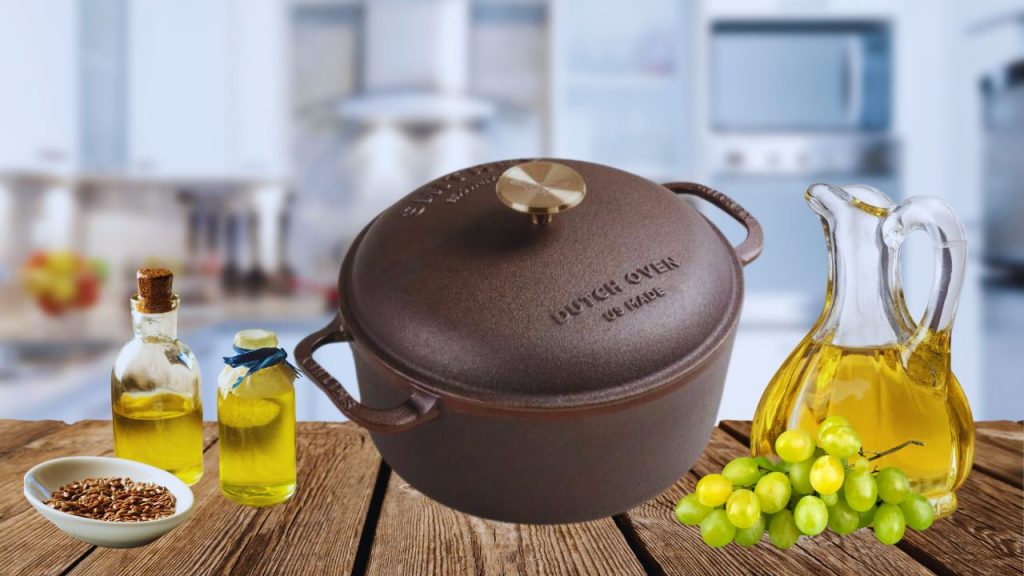
Flaxseed Oil
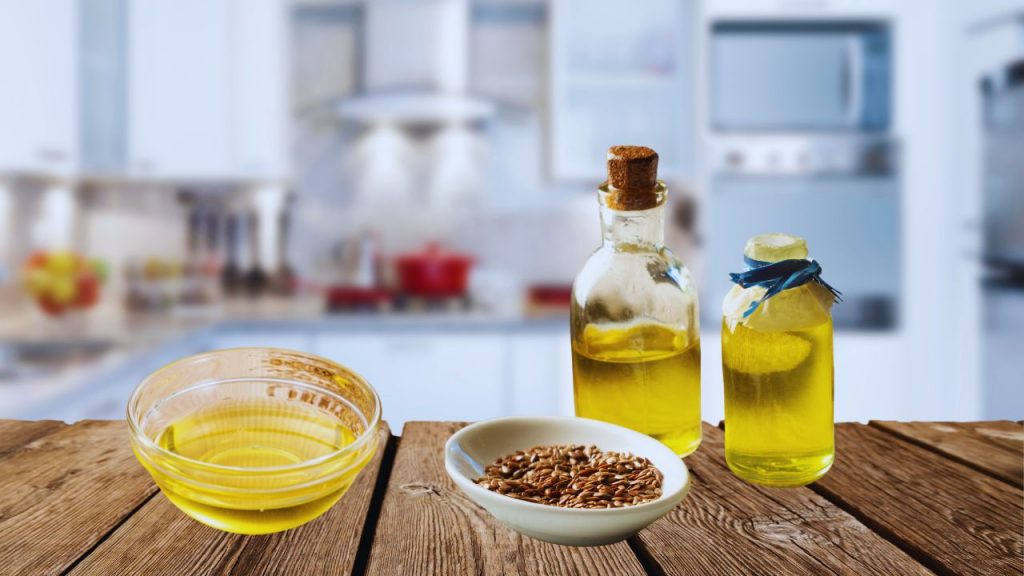
Among unsaturated oils, a growing consensus favors pure, organic flaxseed oil as the premier choice, especially for significant re-seasoning efforts. What sets flaxseed oil apart is its classification as a drying oil, akin to the food-grade equivalent of linseed oil. This unique property means that flaxseed oil hardens upon air exposure, forming a robust, polymerized layer on your cast iron.
While flaxseed oil boasts unparalleled qualities for cast iron seasoning, it is essential to note that it can be relatively expensive and may not be readily available in every grocery store. Typically found in the refrigerated health/wellness section or online, it is crucial to ensure the oil you purchase is organic and consists solely of “organic flaxseed oil” to maintain its purity.
Alternative: Grapeseed Oil
If the cost or availability of flaxseed oil presents challenges, a commendable alternative is grapeseed oil. This oil is known for its high smoke point and neutral flavor. Hence, it is an excellent choice for cast iron seasoning.
Removing Burnt Food Residues from Your Dutch Oven
The aftermath of burnt food clinging stubbornly to the Dutch oven‘s surface is challenging. Fear not, for there are effective methods to rescue your cookware from culinary mishaps.
Follow these steps to bid farewell to burnt remnants and restore your Dutch oven to its gleaming, pristine state:
Cooling and Assessment
Allow the Dutch oven to cool completely after the cooking mishap. Assess the severity of the burnt residues to determine the appropriate course of action.
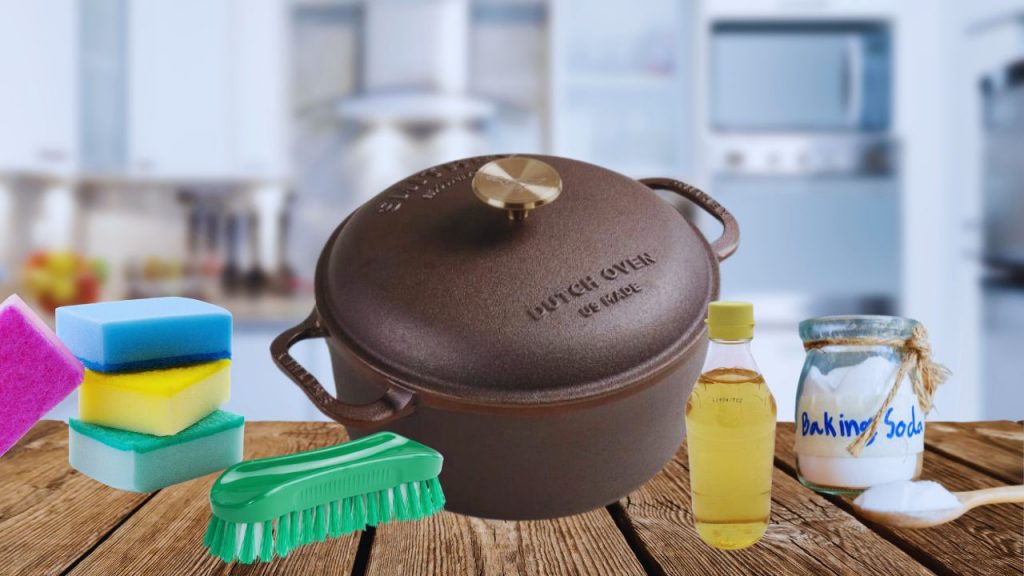
Gentle Scrubbing
Armed with a nylon brush or soft sponge, gently scrub the affected areas. Avoid abrasive scouring pads, as they may compromise the seasoned layer that protects the cast iron.
Boiling Water Method
For more stubborn residues, consider a boiling water method. Put water in the Dutch oven and bring it to a gentle boil. Let it simmer for a while, allowing the heat to loosen the burnt particles. Afterward, use a utensil to scrape away the loosened bits.
Baking Soda and Water Paste
Make a paste of baking soda and water. Then, apply it to the burnt areas. Allow it to sit for a while to break down the burnt residues. The mild abrasiveness of baking soda can aid in the removal process without harming the seasoned layer.
Vinegar Soak
In cases of particularly stubborn residues, a vinegar soak can work wonders. Combine equal parts water and white vinegar. Then, let the Dutch oven soak in the solution for a few hours. This acidic solution helps to dissolve burnt-on particles.
Re-Seasoning After Cleaning
Once the burnt residues are successfully removed, it’s crucial to re-season the Dutch oven to restore its protective layer. Follow the seasoning steps outlined earlier to maintain your cast iron cookware’s longevity and non-stick properties.
Conclusion
We’ve explored the delicate balance required to keep your Dutch oven in top shape, from the careful processes of immediate post-cooking care to the transforming process of seasoning.
Remember that each cleaning and seasoning ritual adds to the rich patina of your Dutch oven’s history. With these techniques at your fingertips, your cast iron companion will not only endure the tests of time but also continue to enhance your culinary creations with every use.
May your Dutch oven be a steadfast partner in the kitchen for years to come.
Chef Bradley Thompson highly recommends to check his list of the best Dutch ovens.